Auto Check-in
IndiGo BluChips Balance
Plan Your travel
Flight Booking
Web check-in
App check-in
Auto check-in
Kiosk check-in
Boarding Pass
Edit Booking
Baggage Tags
Update Contact Details
Submit International Passenger Details
Plan B
Information on Credit Shell
Add-ons & Services
Change flight
Cancellation
Refund
Refund Status
View GST Invoice
Flight Tracker
Booking Information

Step 1
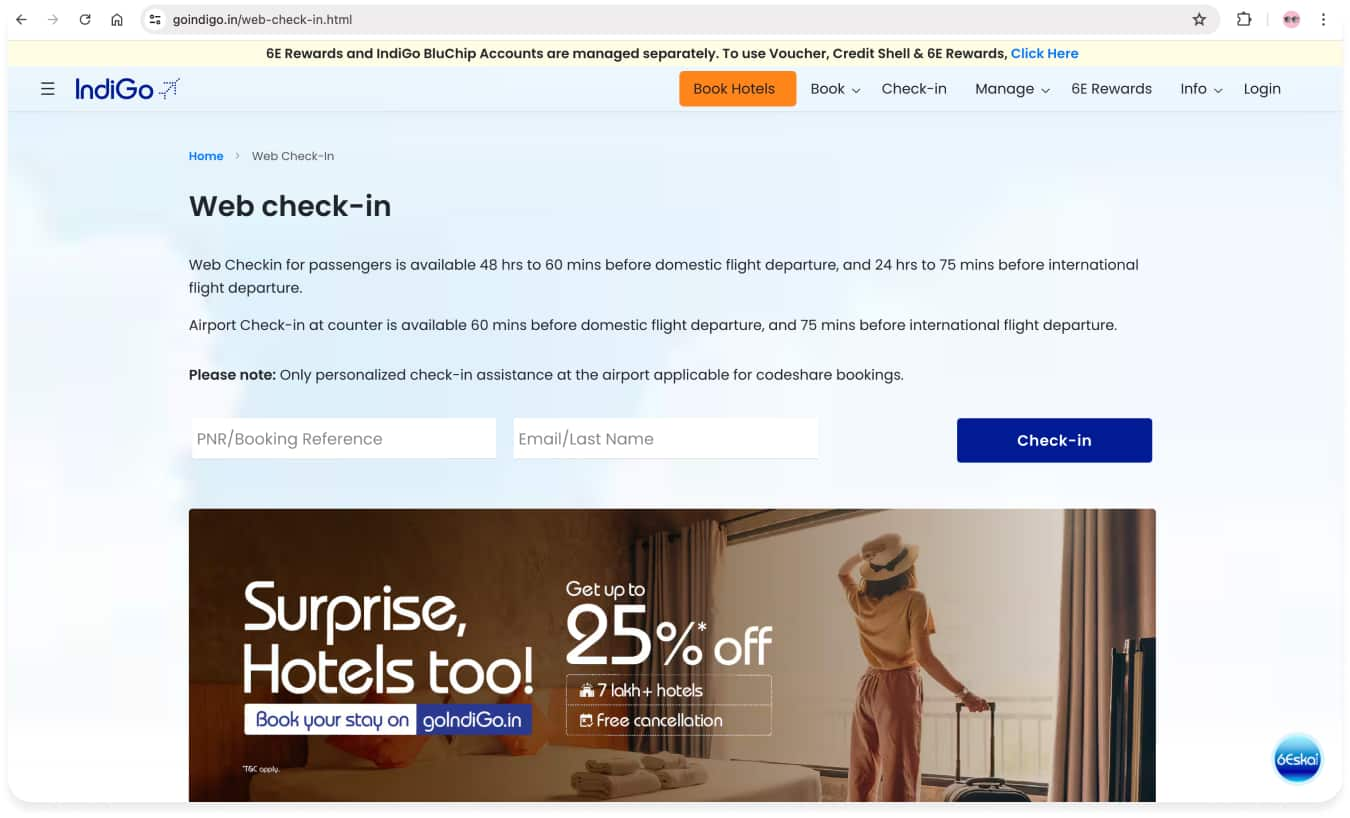
Web Check-in
Visit Goindigo.in site and click on Check in Tab. Enter PNR/Booking Ref and Last Name in the Fields.

Step 2
Passenger Page
You can select passenger seat or you can check-in through auto assigned seat. Your boarding pass with the auto-assigned seat(s) will be sent via email, 3 hours prior to the flight departure.
.png)

Step 3
Dangerous Goods & Ristricted Articles
Read & understood and agree about goods & restricted articles.
.png)

Step 4
Web check-in successful
Your web check-in is successful.
.jpg)
